As an Amazon Associate we earn from qualifying purchases.
Many of you will not know this, but my entire family is from Hawaii. My sister and I were the first ones in my family born here in California. As you might imagine, I grew up with quite a bit of Hawaiian culture and traditions.
One of my culinary favorites has always been kalua pork (but definitely without the cabbage – I swear it is always cut way too thick).
Quick Navigation
What is a Kalua Pork?
Kalua pork is a traditional Hawaiian style of roast pork cooked in an Imu or underground oven. Natives would fill a pit with hot lava rocks, wrap the pork in banana leaves, put it on a plank, and bury the roast for hours. The end result is a juicy fall off the bone shredded pork.
Why Should You Learn to Cook Oven Roasted Kalua Pork?
Put simply, pork roasts are one of the best values on protein out there! At the store, pork shoulder can also be known as pork butt or Boston butt. When pork is on sale or you just need to stock up, you can often get 5+ pounds of this wonderfully flavored and versatile meat for $2-3 a pound (especially for bone-in).
So whether oven-roasted, slow-cooked, pressured cooked, or traditionally cooked in an Imu, I’ve had my share of kalua pork over the years. One of the best things about kalua pork is that you can use it just about everywhere.
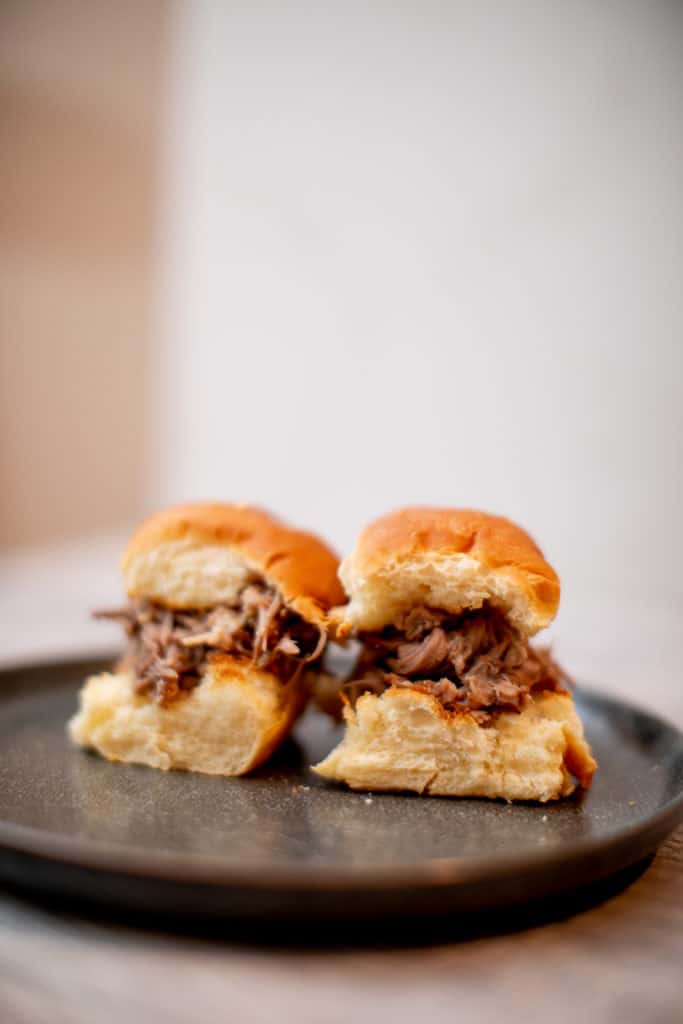
Some of my favorites are obviously with rice or on Hawaiian sweet rolls. You can also put kalua pork into omelets, on pizza, or in quesadillas – basically you can substitute it anywhere you might use carnitas or pulled pork.
Add convenience by using a rice dispenser in your kitchen!
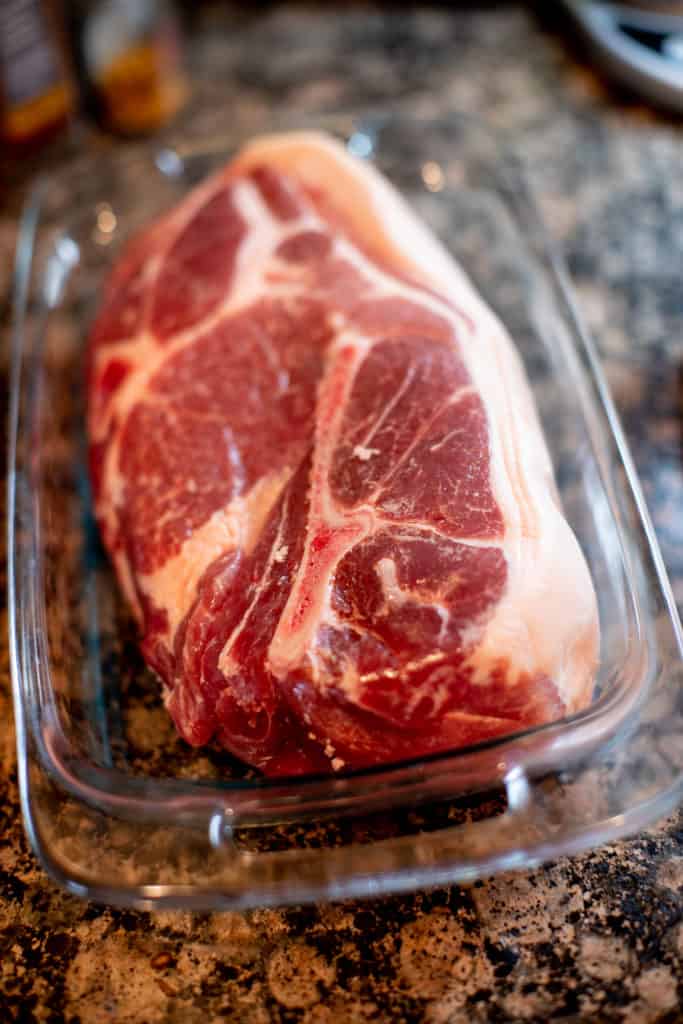
For this dish and any other shredded pork dish (pulled pork, carnitas, etc) I always recommend going for the bone-in cut. The bone provides additional flavor, gelatin, and collagen which makes your dish more flavorful and lip-smacking in texture.
Also, most importantly, it is a single giant bone so it is really easy to remove after the cook.
My Approach to Oven Roasted Kalua Pork
Okay so I don’t have an Imu (underground oven) in my backyard and most likely you don’t either (believe it or not some Hawaiian families do!). To make my kalua pork, I’m going to use a conventional oven. Now, I can still learn and replicate a couple of things here from the traditional method.
The most important takeaway is that traditionally there is no air circulation with the meat. Next is that the pork is cooked on a plank, not with the leaves directly on the rocks. This is really important for heat conduction!
There is an often overlooked component, and that is the moisture from the banana leaves. To replicate the plank, I’ll use the thickest cooking vessel I have. In my case, that’s a pyrex or ceramic casserole dish. To replicate the moisture from the banana leaves I’ll add a tiny bit of water (¼ cup) to the dish.
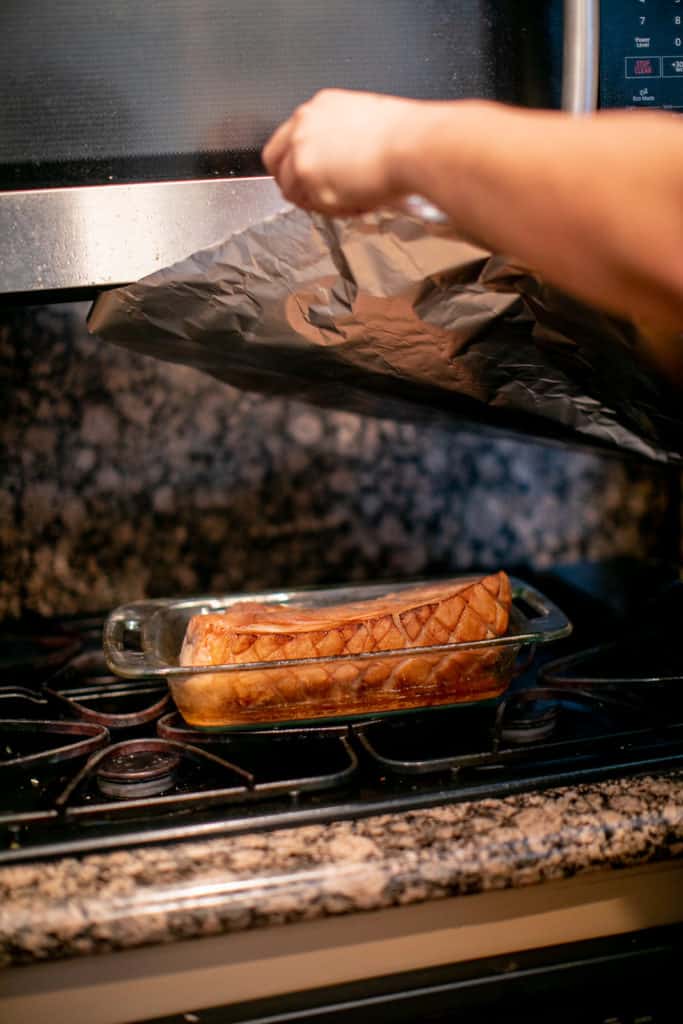
Finally, to replicate the seal of the Imu, I’ll tightly wrap the meat in tin foil to keep all that moisture and goodness in the kalua pork.
What Makes a Good Kalua Pork
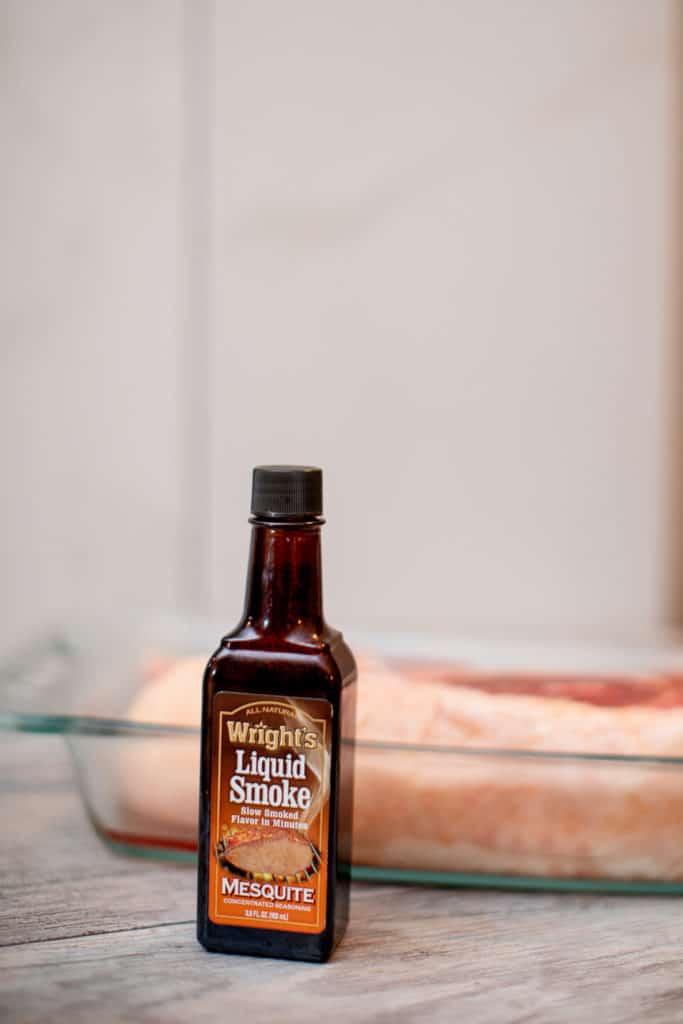
Kalua pork should not be dry and it must be fork tender to shred. Outside of that, the most important part is the use of Hawaiian Alaea sea salt and (optional) liquid mesquite smoke for flavor.
Since I do not expect most people will have Alaea salt on hand, you can substitute with normal sea salt. Under no circumstances should you use iodized table salt (it will not taste very good given the quantity of salt I am using).
The Challenge with Kalua Pork
Kalua Pork is maybe one of the easiest dishes you will ever make, as it’s only 2-3 ingredients including the pork itself and the optional liquid smoke. The cook is basically setting the oven and leaving it alone.
That said, the biggest challenge is probably leaving it alone – do not open the foil or the oven, as this will release the steam and heat from the cook.
My Solution
There is quite a variation in size when it comes to pork shoulder, so I’d recommend the following formula.
- Bone-In: 1 hour plus an additional 30 min per pound at 350°F
- No Bone: 45 min per pound at 350°F
Developing Flavors
If you are a staunch traditionalist when it comes to kalua pork, you can skip this section. When I told my father about this recipe, he actually chastised me for complexifying the dish (and I’m not totally sure if he was joking or not!).
We’re going to use 2 modern techniques to aid in flavor and texture development.
- Dry brine the pork shoulder for 24-72 hours
- Score and render the fat cap
Dry Brine the Pork Shoulder for 24-72 Hours
All kalua pork recipes will call for you to salt all sides of the pork shoulder liberally with the Alaea sea salt, which is good. What they don’t do is let that salt penetrate and do its magic inside the pork.
By dry brining the pork you will get better flavor penetration into the meat, as well as more tender and juicy pork at the end of the day due to the tenderizing properties of the salt.
This is basically the difference of flavor coming from the juice the pork is in versus flavor from the juice in the pork. I want the flavor IN the pork as much as possible (you’ll still get juices too).
Score and Render the Fat Cap
Scoring the fat allows for better salt, smoke, and heat penetration into the fat. This allows it to render better and develop more flavors. If I asked you what is better – soggy, white bacon or crispy, golden brown bacon, you’d probably say the golden-brown one right? Well, that is exactly what I am doing with the fat cap on the pork shoulder.
By scoring it I increase the surface area to volume ratio (meaning there are more outside parts than inside parts) which allows more of the fat to come in contact with the salt, smoke, and heat to create more deliciousness for my final dish.
What Pairs with Kalua Pork?
Traditionally, I eat kalua pork with poi (a creamy side dish made from taro, which is like a Hawaiian potato), rice, Lomilomi salmon (like pico de gallo with salmon), and of course cabbage (though as stated earlier, I always think the cabbage is cut too thick).
Non-traditionally, anywhere you would use pulled pork or carnitas you can use kalua pork. Additionally, since kalua pork is the most neutrally flavored of the 3 you can always add things to make it more like the other two, like BBQ sauce or spices.
Tools Required
I am going to do pretty much everything in my casserole dish. If you do not have a casserole dish you can use a baking pan. If you don’t own either, you can use a rimmed baking sheet and wrap the pork itself in tin foil (crimped at the top so juices don’t come out). Here are the tools you need:
- Casserole dish
- Tinfoil
- Chef’s knife
- Cling Wrap
Ingredients
- 1 pork shoulder (roughly 4-6 pounds, bone in recommended)
- 4 tablespoons alaea salt (can substitute normal sea salt or kosher salt if not available)
- 4 tablespoons mesquite liquid smoke (optional)
- 1/4 cup water (optional)
Instructions
- Place pork shoulder into a baking or casserole dish
- Score the fat with a knife in thumbnail size diamonds
- Liberally salt the entire pork shoulder, make sure you get salt into the scores
- Cover with cling film and chill in fridge for 1-3 days (optional)
- Preheat oven for 400°F (optional)
- Rub entire pork shoulder with liquid smoke (optional)
- Place in the oven and roast fat side up until fat is golden brown, will be about 10 minutes (optional)
- Set heat to 350°F
- Add water to the pan (optional)
- Cover tightly with tin foil, use oven mitts to do this if you roasted the fat
- Bake for 3-4 hours or until shreds easily with fork
- Carefully remove the bone (it will be hot, recommend using tongs)
- Shred rest of pork using two forks
- Serve on sweet rolls or with rice
Nutrition