As an Amazon Associate we earn from qualifying purchases.
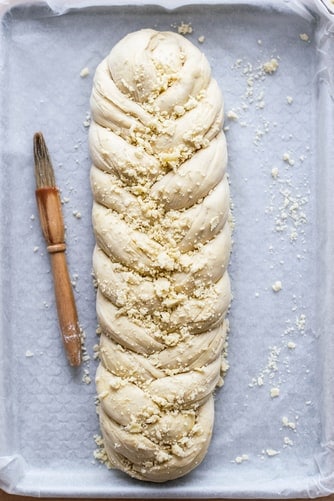
Challah is a beautiful-looking, mildly sweet bread that, unlike other bread, can be baked to completion in three hours flat. It is popular in the middle east and has been gaining steam globally. Here’s a comprehensive guide on how to braid a 6 strand challah.
Quick Navigation
How To Braid 6 Strand Challah
It is sometimes called “egg bread” because it is made with a dough enriched with eggs. But the quality that makes it so appealing is its braids. The preparation time of challah can be short; granted, you know how to braid it right.
Here are two ways to make amazing-looking 6-strand challah.

Method #1: Over 2, Under 1, Over 2
Making six-strand challah is discernibly more complicated than making a three- or four-strand one. However, once you get the hang of the pattern you have to follow, it gets a lot easier.
Step #1: Join The Strands
Make six equally long and wide strands of dough and lay them side-by-side. Pinch one end of all of them together to connect them at the top.
Step #2: Begin Working The Pattern
You have to start braiding six-strand challah in the same way you start to braid a four-strand one.
Take the strand furthest to the right, and move it towards the left. However, once the strand crosses over two strands, you have to slip it under one strand and then weave it over the remaining two.
Make sure you memorize the “over 2, under 1, over 2” pattern – saying it out loud and repeating it when braiding will keep you from getting confused.
Step #3: Continue Working The Pattern
You must grab the strand of dough that’s furthest to your right again and repeat step #2.
Once the strand crosses over two strands, slip it under one strand, and weave it over the remaining two.
Keep repeating this process until the strands aren’t long enough. The challah will have formed.
Step #4: Finish The Challah
When there’s only a small length of the strands left, pinch the loose ends of the dough together. Tuck the merged dough into the challah, and your six-strand challah is ready.
Method #2: Cross Down Method
Like the other method, you must start out with six strands of dough roughly equal in length and width.
Step #1: Seal The Strands Together
Pinch three strands at the top, making two batches of three strands. Join the two batches together by pinching their tops together firmly.
Step #2: Cross The Strands Over
Space out the strands so that the two outermost strands on the sides are by themselves, and there are two pairs of strands between them.
Next, cross the outer strands.
Step #3: Begin Plaiting The Challah
Take the outer strand that crosses over the other outer strand, and bring it to the middle of the two pairs of inner strands.
Then replace the outer strand that’s now in the middle with the strand next to the other outermost strand.
Step #4: Repeat The Pattern
Now, you must cross the other outer strand to the center, then replace it with the second strand from the opposite side.
Keep repeating the pattern, alternating between the two outermost strands. You must cross the outer strand to the center and replace it with the second one from the opposite side.
Step #5: Seal The Challah
Once you reach the bottom of the challah and are almost out of dough to plait the challah with, cut the uneven lengths of dough off.
Then, roll the ends of the challah gently to merge the dough, then tuck the ends into the challah.
Here’s a short video guide that’ll help you understand the pattern quickly.
Braiding Tips To Make Things Easier
- To give your challah a neater look, don’t pinch the dough together too hard in the beginning. After you complete the challah, you can “un-pinch” the dough and re-braid the top section tightly. This trick also works well for the four-strand challah.
- Wait for your dough to rise completely before braiding, regardless of if you’re using a two-rise process for making the dough or not. If the dough hasn’t expanded all the way, the dough may rise while or after braiding, making the challah look very sloppy.
- Do not stop braiding challah in the middle of the process for any reason. You may end up losing your place in the braid, and starting over may no longer be an option.
- Lightly flour the surface you’re working on to ensure the dough does not stick to it.
- Most importantly, if your challah doesn’t come out looking as pretty as you like, don’t lose hope. Getting the strands even and braiding them correctly takes practice. Follow either of the methods in this guide, be patient, and remember to have fun.
Frequently Asked Questions
How Long Should Challah Dough Rise?
The dough must double in size before you start making challah with it. Place the dough in an oiled bowl after kneading, and leave it somewhere warm after covering the bowl with plastic wrap. Let it rise for at least an hour and a half before braiding.
Can I Use Butter Instead Of Oil?
Yes, you can use oil. If you don’t need to keep your table kosher, you can substitute the oil with melted butter when making the dough for the challah.
Why Is Jewish Challah Traditionally Braided?
While you may want to make challah to enjoy its flavor, the loaf of bread does have some significance in Jewish culture.
The Jewish people braid their challah as a prayer that their loaves of challah evoke the showbreads placed on the Table in the Holy Temple. You can read more about it here.
How Long Can I Store Challah?
After your challah cools down, you can wrap it tightly in plastic wrap and store it at room temperature. Make sure you consume it within five days.

Conclusion
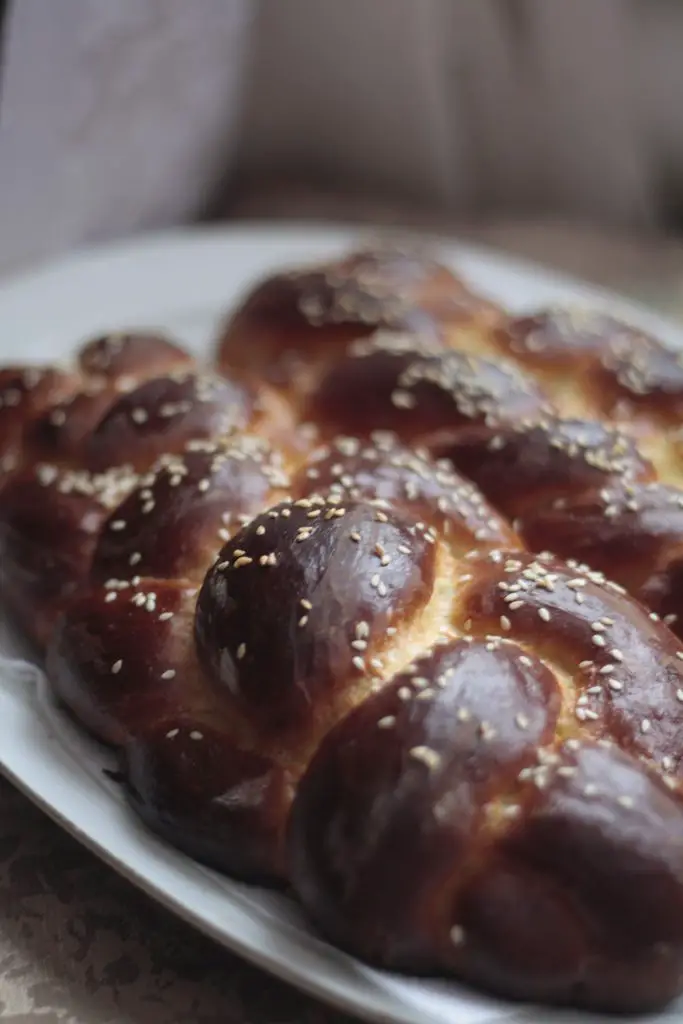
Challah is just as much a pleasure to eat as it is to look at. You can enjoy it plain or spread some softened butter on it. You can also use challah as sandwich bread.
With this guide handy, you’ll be able to braid sensational challah with great ease.